Frequent search terms

- COMPO
- Guide
- Plant Care
- Basics
- Organic gardening
- Gardening with children
My first flowerbed
Gardening with children
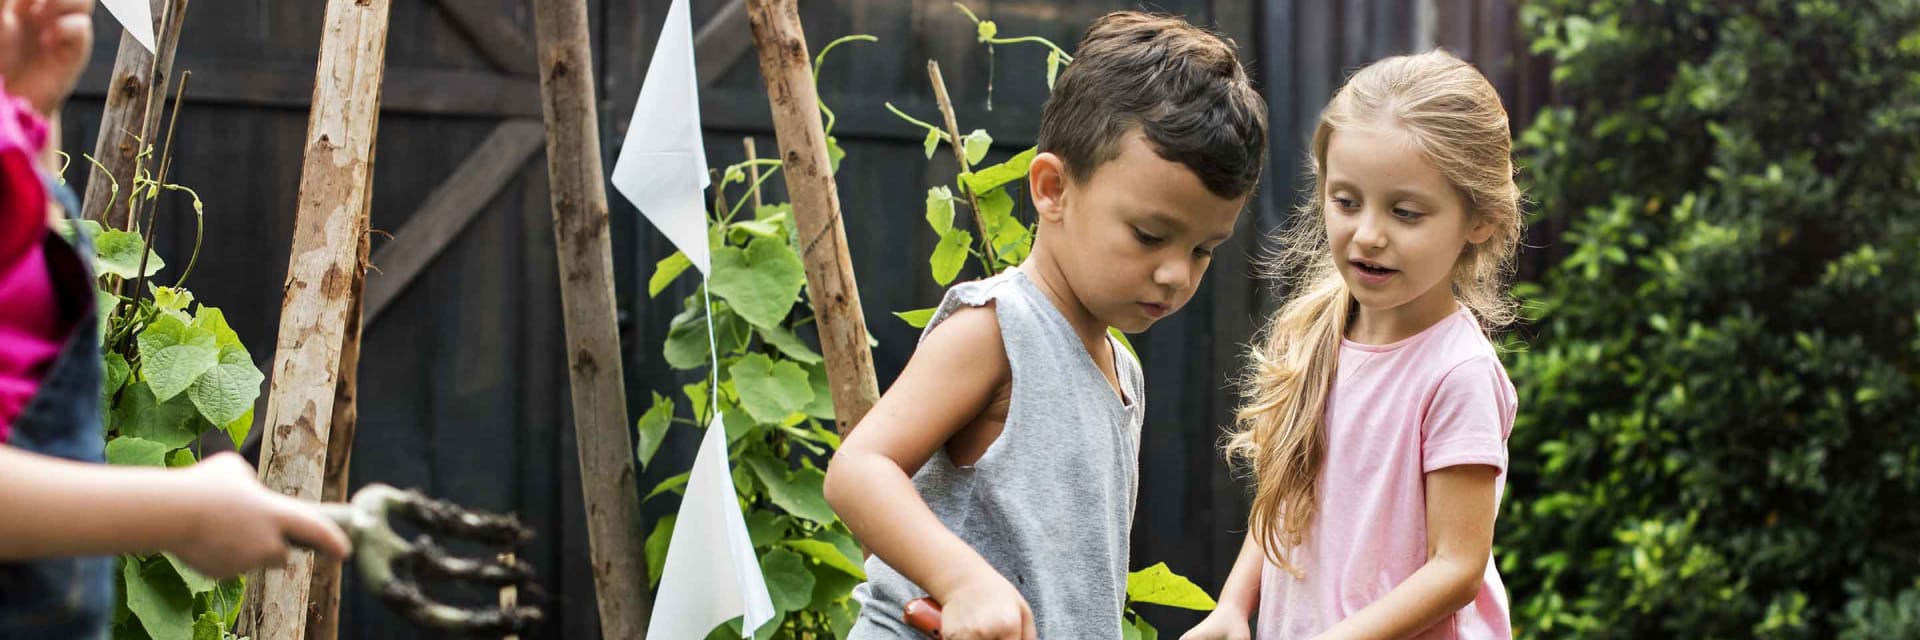
Picking carrots in grandma's garden, discovering your first earthworm or painting a clay pot to be filled with cress – these are often memories of early childhood that shape our passion for gardening. In this article, we have summarised what can be found in a children's flowerbed and what potential young gardeners get excited about.

The child-friendly foundation
From the age of four, many children start to show an interest in managing their own section of a flowerbed. The better the young gardener's section is integrated into the flowerbed of an adult, the greater the interest in the new task. To create a better overview, the flowerbed should initially be no bigger than one square metre so that most plants can be reached without the flowerbed area being trodden on too often. It is also a good idea to mark the flowerbed with a border – using painted pebbles or shells collected on holiday will also make this step a more memorable experience.
When choosing the plants, you should make sure not to test the patience of your child too much. Plants that are sturdy and grow quickly are a good idea, as are those with a certain experiential quality. While eating the produce of fruit and vegetable varieties is the reward for cultivating them successfully, ornamentals can awaken interest with the possibility of refinement or a particularly intense aroma.
Non-poisonous ornamentals with added value
A possible foundation for a sunny children's flowerbed lasting several years is lavender. Varieties such as 'Hidcote Blue' have short, compact growth and impress with their intense aroma and plentiful flowers. In late summer, there is the option of making lavender bags from the flowers. If the shrub is pruned by about a third after blooming in the autumn, it will remain compact and find space in children's flowerbeds for many years to come.

The 'bite' of these plants is impressive, as the flowers of the snapdragon open like a little mouth when they are pressed gently. Although this plant can't be used to make anything, it always attracts the interest of little gardeners thanks to this special feature. If you want to enjoy multi-coloured flowers from June onwards, you can start sowing in seeding trays in January. This allows young gardeners to practice for a few months on the windowsill before moving on to the garden. As it is a light germinator, the seeds are only covered with a minimal amount of compost. It is a good idea to use a spray bottle to ensure consistent moistening. Not only is this fun, it also prevents seeds from floating when they are watered excessively. From mid-May onwards, you can move on to the flowerbed; varieties that grow tall should be secured with a support after a few weeks
.Nasturtium is great for sowing practice. If the cress should be sown directly in the flowerbed, this is done at the beginning of May at the earliest as the seedlings are very sensitive to frost. Taking a nutrient-rich potting soil as the foundation, the seeds are pressed about one centimetre into the soil and then only lightly covered with earth. The seeds must be kept consistently moist during the germination stage. But beware, watering them too often can cause the seeds to be washed out of the soil. Nasturtium makes perfect ground cover for the flowerbed. If you like, you can make small climbing aids out of sticks or strings with your children – the colourful flowers will climb them appreciatively. If the plant has grown successfully, the flowers can be eaten in salads or used as edible decoration in a variety of dishes. The leaves of nasturtium are also edible but slightly spicy, making them less suitable for consumption by children. You can find more edible flowers here .

The classic feature of summery children's drawings is the sunflower. With its imposing height and impressively large flower head, the flower is considered a favourite of many children. You shouldn't start sowing sunflowers in your flowerbed until May – pre-planting in pots on a warm windowsill is even safer. Besides sun, the yellow beauty needs a lot of water to grow tall. If the head of the plant becomes heavier, a plant support should be put in place to protect it from strong gusts of wind. In late summer when the yellow flowers wither, it is worth removing the flower heads and drying them in a warm place. This allows children to find out where sunflower seeds come from, but extracting the seeds is rather laborious. Birds have it easier with their pointy beaks. The dried flower heads are a welcome source of nutrition for them in the winter. It is best to put them in a birdhouse in your garden and watch it turn into a hub of activity.
Growing fruit and vegetables is child's play
Tuber vegetables that grow underground are not quite as handsome as ornamentals but, at the very least, just as fascinating. The propagation of potatoes is reminiscent of the finest sorcery. To do this, the young gardener first selects a particularly promising specimen from his or her kitchen at home. This is then laid out in a light room with a temperature of about 10 to 15°C for the priming process. After a few weeks, the first sprouts form and it's easy to see what the unassuming potato tuber can do. From mid-April onwards the tuber, with its sprouts facing upwards, can be placed in well-loosened soil. The planting hole should be about 10 cm deep. Besides watering during prolonged dry periods, it's important to ensure that the potatoes don't get any light in the weeks that follow – this would cause them to turn greenish and be harder to digest. The gardener should regularly pile up enough soil above the plant so that about 10 cm of the leaves stick out of the mound. Although small potato tubers form in the soil after a few weeks, you should wait until the plant wilts and turns brown before enjoying the harvest. In optimal conditions, up to ten potatoes can grow from a single tuber. Several potato tubers can be planted to improve the harvest, and they can also be grown very successfully in tubs.

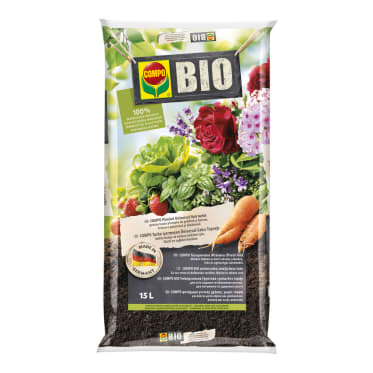
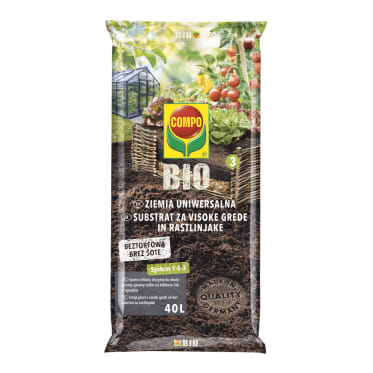
After an abundance of vegetables in your first year of gardening, preparations for special treats should start in August. If the strawberry plant is planted in the warm summer months, it has enough time to grow over the winter and patient gardeners will be rewarded the following year with an abundance of fruits. Be sure to choose a spot with full sun if you want to enjoy sweet fruits. Looking back at the exhausting summer months, the ground should be fortified before new plants are sown. A natural fertiliser made from manure or compost is suitable for children's flowerbeds. If you don't have this, we can wholeheartedly recommend organic products such as COMPO's organic horse manure, COMPO's organic horn and bone meal or COMPO's organic slow-release berry fertiliser with sheep's wool. After preparations have been made, you should put the plants in a water bath for a few seconds so that they can absorb plenty of water before being planted. If the strawberry plants are subsequently well watered and kept free from weeds, they will consistently increase their yield until into the third year of harvest. From May onwards, a little straw should be placed under the plants each year so that the strawberries are protected from moisture and mildew.
Before the harvest can get into full swing, those with a sweet tooth should remember that other garden inhabitants might enjoy munching on the fruits, so you should watch out for worm holes. Other food rivals like birds and snails might test the nerves of little garden friends. If the strawberries can't be shared fairly, they can be protected with nets or COMPO's organic snail barrier made from natural shell limestone.
Until next year
To build anticipation for the next spring, tulip bulbs can be buried in the soil from October until well into December. Small ditches are first dug in loose soil which are about twice the height of the bulbs Then the bulb is placed into the planting hole with the tip facing upwards and covered with soil. If you inspect the bottom of a bulb closely, you will be able to see root lugs. The tulips, which bud after the winter break, mark the beginning of spring and might even set the mood for another year of responsible garden management with their colourful flower heads.

Before life moves indoors over the winter months, it's a good idea to give hedgehogs a helping hand. When ground temperatures drop below zero for a prolonged period, the animals look for a dry spot in gardens to spend the winter. While fully grown hedgehogs generally don't waste any time in looking for a winter home, young animals are often occupied with looking for food for longer and then delight in the hiding places on offer. The easiest way to help them is to pile up leaves, wood and brushwood which continue to fall in the autumn after the gardening work is done. The protective materials should not simply be piled up in your garden and children should think about what a really good hiding place for hedgehogs could look like. Protected places under a thick hedge, wood storage or beneath a gazebo are possible options. If your garden doesn't have any decent hiding places, you can build a hedgehog hut with your children. Simple wooden huts made weather-resistant with natural wood protection or a cover made of roofing felt are good options. If you don't feel confident enough to build such a shelter, you can have a look at huts for rabbits or guinea pigs in a pet shop and make them weather-resistant. Before positioning and padding out the hut, a little construction work needs to be done as hedgehogs also need to urinate during hibernation, but they don't necessarily leave their shelter to do this. To prevent too much water collecting in the den over the months, a small hollow can be dug underneath which is then filled with pebbles. Once the drainage has been completed, the den can be padded out with hay, straw or brushwood.
Even though it may be hard to resist, the shelter should not be raised or moved after the first frosts until well into April as this might frighten any inhabitants.
Gentle organic products


